Welcome to the NETVN channel! If you’re looking to build a file server for your small or medium business, you’ve come to the right place. In this article, we will guide you through the process of setting up a cloud-based file server using Windows Server. So, let’s get started!

Server configuration
Before you begin, it is essential to configure a static IP address for your server. In this example, we will use the IP address 192.168.1.254. Once the static IP address is configured, you can proceed to change the server name. Restarting the server will be necessary after renaming it.
To optimize the server for file storage and easy resource management, we will turn it into a domain controller. Additionally, we will install the File Server Resource Manager for enhanced functionality.
Configuring the domain controller
Upgrading the server to a domain controller requires domain configuration. You will need to configure the domain according to the requirements of your business or organization. Make sure to set a recovery password and follow the steps to complete the setup. Once the configuration is complete, the server will automatically restart and join the newly created domain.
Configuring DNS
To ensure smooth communication between devices, it is important to set up DNS (Domain Name System). DNS allows mapping between IP addresses and host names. In this video, we will map the IP address 192.168.1.254 to the hostname “sv1”. To check if the DNS settings are configured correctly, you can use Command Prompt.
Divide resources for different groups
To effectively manage resources within your company, it is advisable to divide them into organizational units, groups and users. By creating separate accounts for each person and assigning them to specific groups, you can control access to resources. For example, in this video, an organizational unit named “New York” is added, along with two groups named “IT” and “Sales”. The IT group is made up of members John and Jennifer, who will have exclusive access to certain data. This ensures confidentiality within the company and facilitates data management.
Setting up shared hosting
To allocate server resources to different groups and their members, you can configure shared hosting. In this example, there are two hard drives on the server: one for the Windows operating system and the other for data storage. After initializing and partitioning the data storage drive, it is formatted as NTFS and named “Storage”. Next, shared hosting is configured, assigning partition D to the IT and business groups. This allows users to access the shared folder via a specific path. By setting the appropriate permissions, users without access rights will not be able to discover the folder on the network.
Managing folder permissions
To further protect data privacy and ensure that only authorized users can access specific folders, you can configure folder permissions. In the “DATA” folder, separate folders for IT and Sales are created. Edit permissions are granted to the IT group, allowing John and Jennifer to make changes to the IT file. However, members of the Sales group do not have access to the computer file, and vice versa. This separation of data simplifies management and prevents unauthorized access.
Automating network drive mapping
Deploying a domain has many benefits, including automatic mapping of network drives. For example, the IT folder can be automatically mapped to computers belonging to the IT group. To achieve this, a new Group Policy is created, configuring the necessary settings. By specifying the path, selecting the drive character and enabling the reconnect option, the network drive mapping is configured. Clients joining the domain will have their respective network drives automatically generated, simplifying file access.
Join the domain
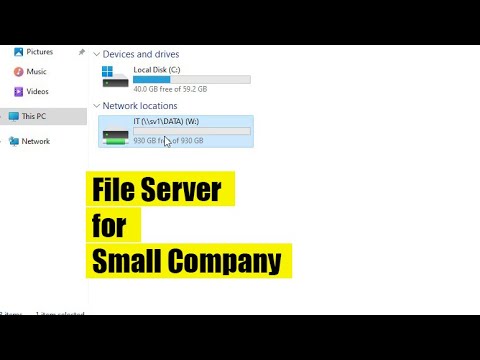
To join the domain, clients must configure a static IP address and configure the DNS IP address to match the server IP address (192.168.1.254 in this example). After completing these steps, clients can join the domain using their respective usernames and passwords. Once registered, customers will have access to the file server and a new drive will appear on their computers.
Set limits and monitor resources
To avoid resource overload and ensure fair use, it is advisable to set limits for groups. Templates are available or you can create custom boundaries. In this video, a limit model is applied to the IT group, limiting John and Jennifer to downloading a maximum of 10 GB of data. Additionally, it is prohibited to upload media files and executables to the computer folder. Similar limits can be applied to other files if necessary.
Monitoring server resources is crucial for effective resource planning. By setting up reports, you can track teams’ storage usage and plan upgrades if necessary. These reports provide information about server resource allocation and help manage storage more efficiently.
Conclusion
Congratulations! You have successfully created a cloud-based file server for your small or medium business. In this article, we have covered the basic steps including server configuration, domain controller configuration, resource distribution, shared hosting configuration, folder permission management, mapping automation network drives, connecting to the domain, setting limits, and monitoring resources. By following these steps, you can improve collaboration and secure file management within your organization.
Thanks for reading and we hope you found this guide helpful. Don’t forget to like and subscribe for more informative content!